Import data from another system
Bring your customers, employees, bookings, journal history, leads, and catalog over from your previous system.
Switching from another system? Calendia's migration assistant helps you bring your history across instead of starting from a blank slate.
Import customers, employees, bookings, and journal history
- Go to Imports. The Migration assistant card is at the top.
- Click Upload export files, choose the exports from your previous system, then click Analyze files. Large files are sent in resumable chunks, so an interrupted upload can continue.
- Calendia assembles the files in private storage and reads only headers and a small set of sample rows first. This quick profile suggests each dataset and its columns without making you wait for the full history to be read.
- Check every suggested dataset and field, then click Confirm mapping. The sample is a preview, not the final row count.
- When all mappings are confirmed, click Check full history. Calendia reads and validates the complete files in background jobs; you can leave the page and return to Import history to see progress or retry a failed step.
- Resolve any blocking issues or matching conflicts. When matching services, map the names that have a real match first. For the rest, pick a choice under For all remaining service names and click Apply to remaining. Create as inactive service (history only) creates an inactive service that can't be booked for each old name, so old bookings can still be filtered and reported by service. The old service name stays in each booking's note whichever choice you make.
- Once everything is ready, click Import reviewed data. The import is written in the background. If it stops, nothing is imported and you can try again.
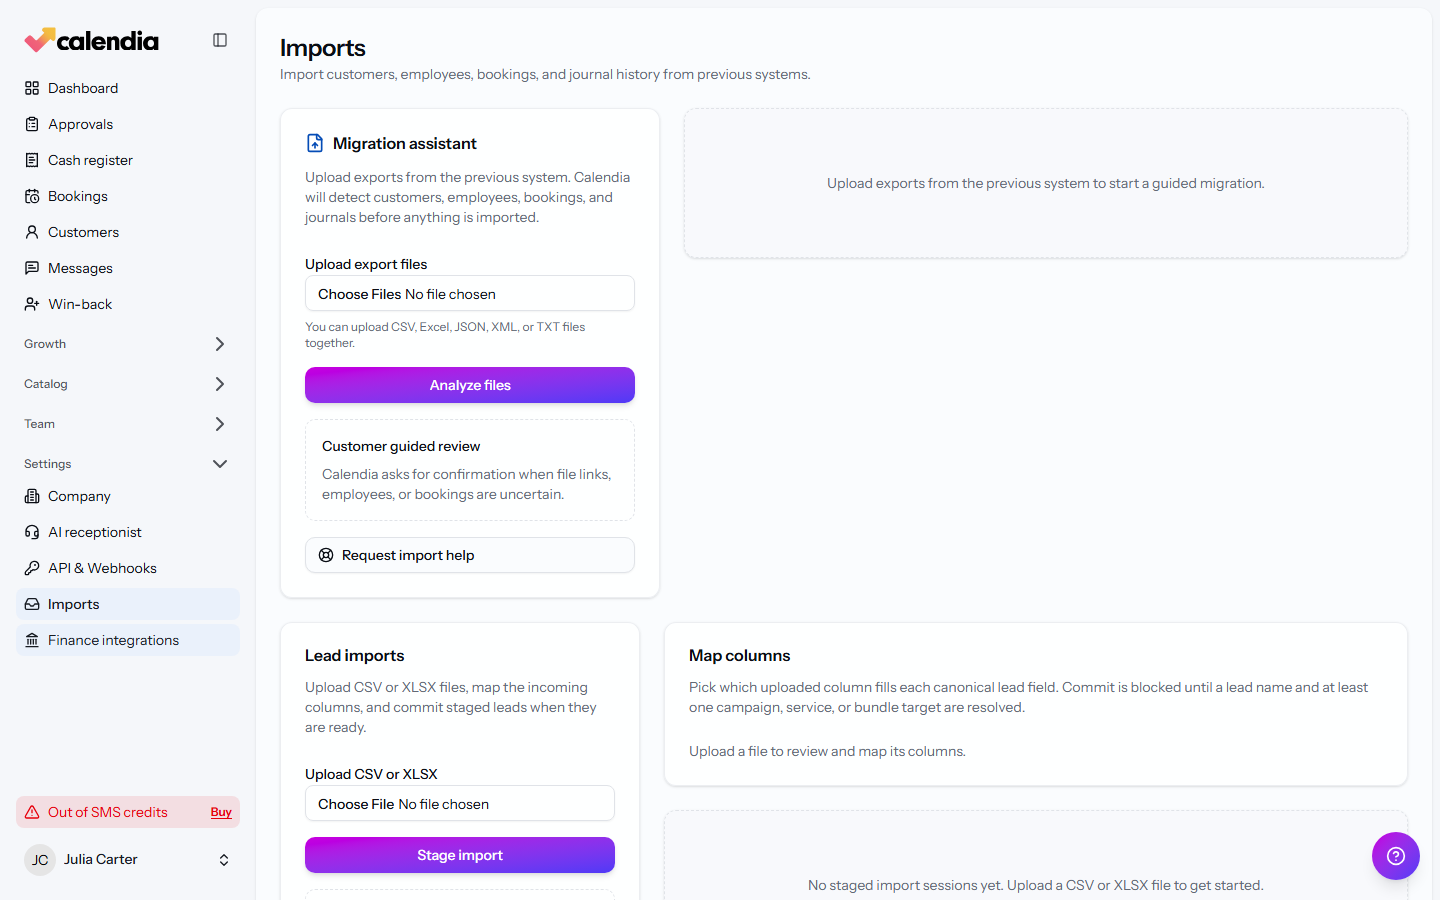
Each import is tracked under Import history, and you can Undo import if something doesn't look right shortly after importing.
The migration assistant accepts CSV, TSV, XLSX, JSON and XML exports. Large supported files use the same sample-first and background process; the page does not load the entire export into the browser. Keep the original export until the import is complete, and do not edit or split files while resuming an interrupted upload.
Import customer files
Use Import customer files on the Imports page to bring documents, scans and images from your previous system onto each customer's Files tab.
- Manifest — upload a JSON manifest that lists each file and the customer it belongs to. Copy example shows the expected format.
- Folder — click Choose folder, select the folder that holds the files, then Check folder.
- Upload — click Start upload. You can Pause and Resume, or choose the same folder again later to continue where you left off.
- Summary — review what was imported. Files that didn't import stay listed so you can fix them.
Customers are matched by their customer id from the previous system first, then by email, then by phone. Files a customer already has are skipped.
Import leads
Leads use a simpler CSV/XLSX flow, on the same Imports page:
- In the Lead imports card, click Upload CSV or XLSX and select your file, then click Stage import.
- Under Map columns, match your spreadsheet columns to Calendia's lead fields, then Save mappings.
- Review the mapped rows and click Commit import.
Import your service or product catalog
During first-time setup, the services step has I have a booking page. Paste the Link to your booking page and click Fetch and continue. Calendia reads your services in the background while you finish setup, and at the end you can Review and save services or Skip and finish setup.
After setup, Calendia uses an AI-assisted format instead of a spreadsheet:
- Open Import catalog from your catalog page.
- Click Download the format, or Copy prompt and example to hand to an AI assistant along with your existing price list — it returns the catalog as a JSON file in Calendia's format.
- Under Upload generated JSON, choose your JSON file (2 MB maximum) and click Upload and review.
Get help with an import
If a file doesn't fit the expected format or the review step raises issues you're not sure about, click Request import help on the migration assistant. This opens a conversation with Calendia support instead of leaving you to resolve it alone.
Related articles
Welcome to Calendia
A quick tour of the sidebar, your calendar dashboard, and where to find help when you need it.
Add and manage customers
Build your customer directory, search and filter it, and find customers who haven't booked in a while.
Create services and categories
Add the services you offer, group them into categories, and control what customers see and pay.